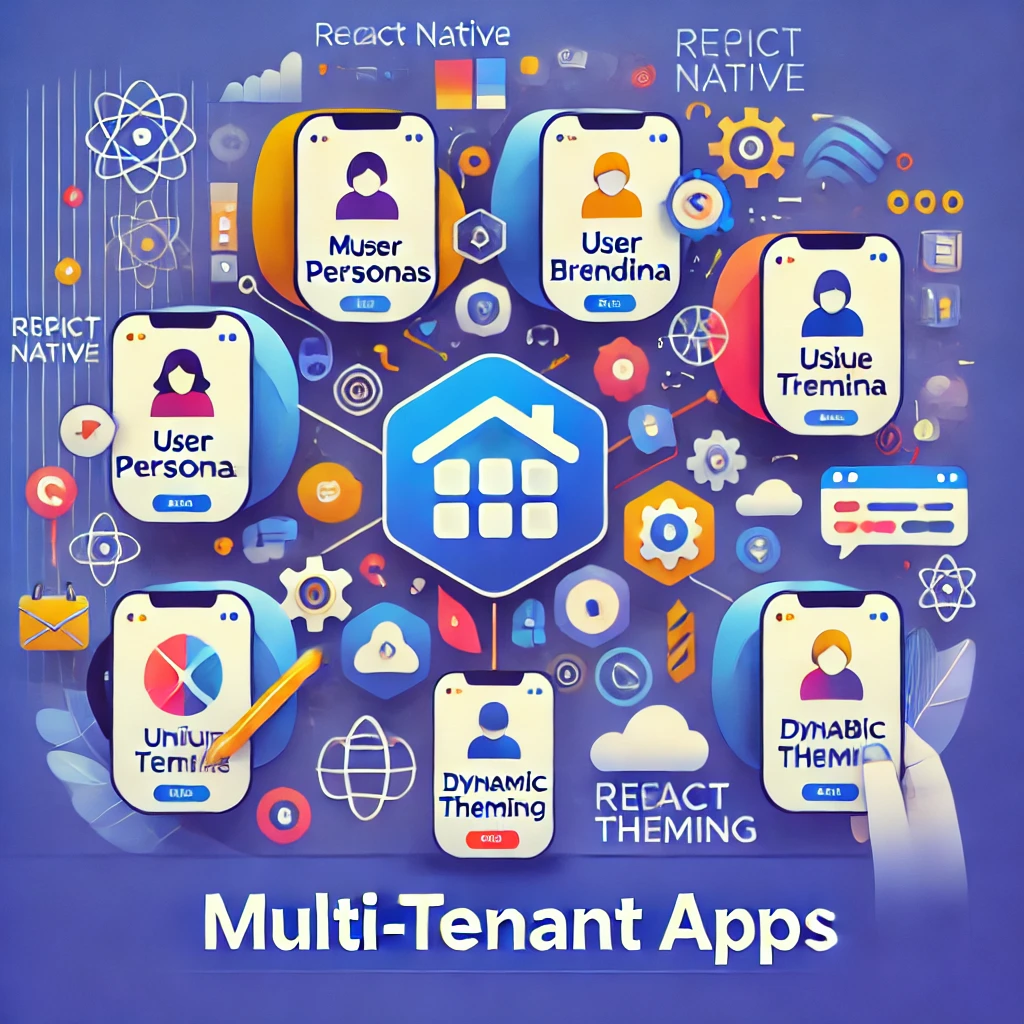
As businesses continue to scale globally, the demand for multi-tenant applications has skyrocketed. Multi-tenancy allows a single app to serve multiple organizations or customers with unique branding, data segregation, and configurations—all while sharing a common codebase. React Native, with its flexibility and robust ecosystem, is an excellent choice for building such applications.
In this blog, we’ll explore how to build a multi-tenant mobile app using React Native, covering dynamic theming, app branding, and API integration to support multiple tenants seamlessly.
What is a Multi-Tenant Mobile App?
A multi-tenant mobile app serves multiple clients (tenants) with unique requirements using a shared infrastructure. Each tenant can have:
- A unique logo, splash screen, and app name.
- Separate databases or API endpoints.
- Custom themes and configurations.
Why Choose React Native for Multi-Tenancy?
React Native is ideal for multi-tenancy because:
- Cross-platform compatibility reduces development effort.
- Libraries like
react-native-configsimplify environment management. - Dynamic theming allows real-time customization for different tenants.
Key Steps to Build a Multi-Tenant React Native App
1. Dynamic Theming and Branding
Dynamic theming allows each tenant to have a unique color scheme, logo, and app name.
Implementation Steps:
- Create a Configuration File for Each Tenant: Store tenant-specific details like logo, theme colors, and API keys.
export const tenants = {
  tenant1: {
    name: "Tenant One",
    theme: { primary: "#FF5733", background: "#F7F7F7" },
    logo: require("./assets/tenant1-logo.png"),
  },
  tenant2: {
    name: "Tenant Two",
    theme: { primary: "#33B5FF", background: "#FFFFFF" },
    logo: require("./assets/tenant2-logo.png"),
  },
};
- Switch Themes Dynamically: Use a
ThemeProviderto apply themes based on the tenant.
import { tenants } from "./tenants";

const TenantApp = ({ tenantId }) => {
  const theme = tenants[tenantId].theme;

  return (
    <ThemeProvider theme={theme}>
      <App />
    </ThemeProvider>
  );
};
- Dynamic Branding: Update the splash screen, app icon, and app name dynamically using libraries like
react-native-splash-screenandreact-native-config.
2. Manage Environment Variables
Each tenant may use separate APIs or databases. Use react-native-config to handle environment variables dynamically.
Setup Steps:
- Install
react-native-config:npm install react-native-config - Create environment files:
.env.tenant1.env.tenant2
- Configure environment variables for each tenant:
API_URL=https://api.tenant1.com APP_NAME=TenantOneApp - Access environment variables:
import Config from "react-native-config"; const apiUrl = Config.API_URL;
3. Implement Tenant Detection
Detect the tenant dynamically based on the user’s login information or app configuration.
Steps:
- Identify the tenant during app launch using domain or login credentials.
- Pass the
tenantIdto your app for tenant-specific configurations.
4. Dynamic Navigation
Each tenant might require custom navigation stacks. Use a dynamic router to manage navigation.
import { NavigationContainer } from "@react-navigation/native";
import { tenants } from "./tenants";

const AppNavigator = ({ tenantId }) => {
  const screens = tenants[tenantId].screens;

  return (
    <NavigationContainer>
      {/* Dynamic stack navigator */}
    </NavigationContainer>
  );
};
5. Data Segregation
Data for each tenant should remain isolated. Use one of the following approaches:
- Separate Databases: Use unique databases for each tenant.
- Single Database with Tenant IDs: Tag all records with a tenant ID to ensure segregation.
6. Test Each Tenant Thoroughly
Before deployment, test the app for all tenants:
- Verify themes, logos, and app names.
- Ensure data segregation and API configurations work as expected.
- Test navigation and user flows.
Best Practices for Multi-Tenant Apps
- Keep configurations flexible: Use modular design for tenant-specific code.
- Centralized configuration management: Use a single source of truth for tenant settings.
- Optimize performance: Minimize redundant operations and cache tenant-specific data.
Conclusion
Building a multi-tenant React Native app is a powerful way to scale your application for multiple organizations while maintaining a single codebase. By leveraging dynamic theming, environment management, and robust testing, you can deliver a seamless and personalized experience for every tenant.
FAQs
1. Can I update themes dynamically after app deployment?
Yes, using libraries like react-native-dynamic-theme, you can update themes without releasing a new app version.
2. How do I ensure data security in a multi-tenant app?
Implement strict data segregation with tenant-specific IDs or separate databases.
3. Can I customize the splash screen for each tenant?
Yes, tools like react-native-splash-screen allow dynamic splash screen configurations.


Leave a Reply